

Export Daz Studio To Animated Obj Daz3d Export To Element 3d Obj
Export Daz Studio To Animated Obj Daz3d Export To Element 3d Obj
In this article I'll show you the steps necessary to export an animation equally OBJ Sequence from DAZ Studio. There's a script floating effectually the DAZ Forums by an unknown author, but sadly it'southward stopped working after version iv.12. While I oasis't institute a mode to set up that script, at that place'due south a workaround by importing the animation first into Blender, then from Blender every bit OBJ sequence.
You'll need the total version of breathing 2 and a copy of Blender to follow the steps below.
Exporting from DAZ Studio
In my instance I have a archaic that jumps up and downwardly, made upwards of three keyframes. We'll need to export ii things to Blender for this to work:
- an OBJ of the kickoff frame of the blitheness
- and the MDD signal enshroud file
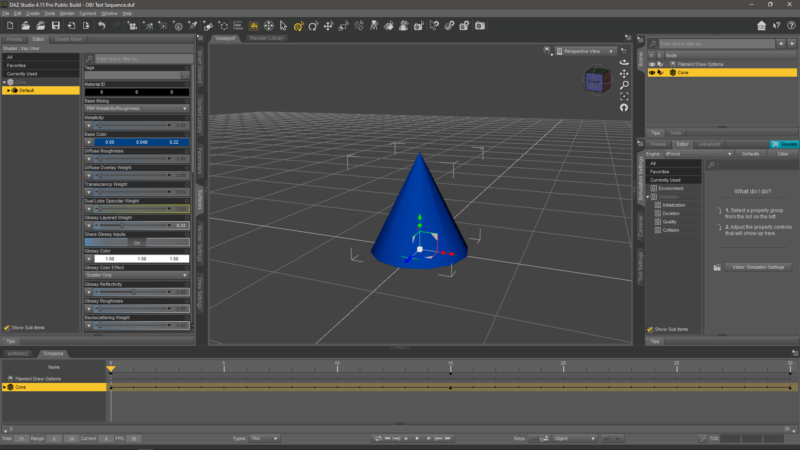
If yous have several objects in your current scene, but would only like to consign an animation of a particular ane, make certain everything except for your animated object is invisible (little heart icon in the scene tab). Not doing this will mean the additional geometry volition be exported, and that volition lead to problem down the line.
Likewise, make sure to select the object y'all'd like to consign in the scene tab.
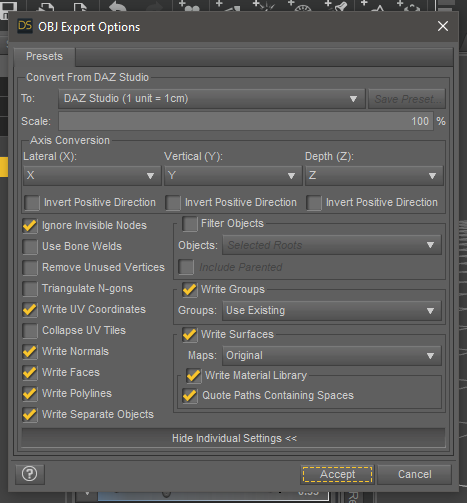
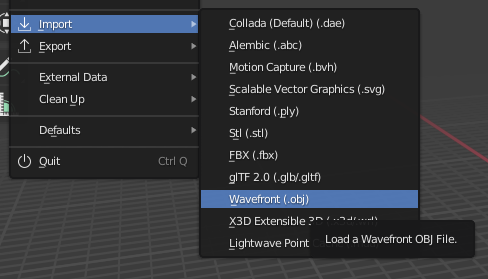
Park your playhead on the starting time frame of the timeline, then choose File – Consign – Wavefront OBJ. Choose the DAZ Studio default preset. Technically nosotros should pick a ane% scale during the process, only it actually depends on where yous'd similar to take your OBJ sequence later on. Mine will exist a circular trip dorsum to DAZ Studio, so I'll exit it at 100%.
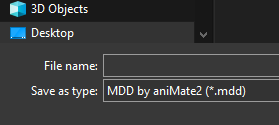
Next we'll export the blitheness. Navigate to File – Export again and option MDD by animate as file format. The full version of aniMate 2 needs to be active in DAZ Studio, otherwise the MDD export selection won't testify up.
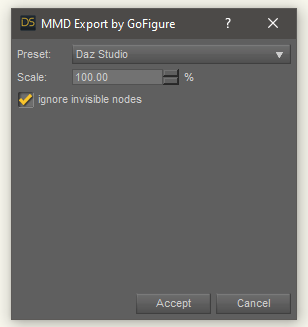
This will bring up another dialogue. Pick the DAZ Studio preset again and select the choice to ignore invisible nodes, excluding all subconscious objects in your scene.
That'due south all we demand from DAZ Studio for now.
Importing into Blender
With a new default scene open in Blender, select the default cube and select x. This will delete it, leaving only the camera and some lights in the scene. Feel free to delete those likewise, we won't demand them, only they won't go in the way either. Import the OBJ for your first frame by navigating to File – Import – Wavefront OBJ.
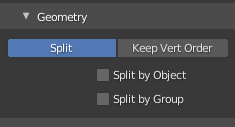
Choice your object and de-select the option to Split by Object in the Geometry department. When y'all import a Genesis figure, and this option is selected, you lot'll finish up with one object per node, and we want to avoid that. De-selecting this selection makes Genesis one solid object.
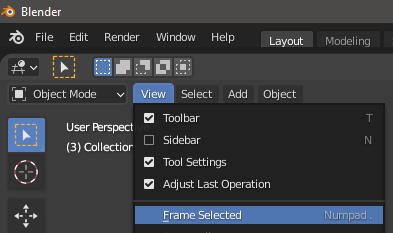
Your object volition exist imported, but information technology might exist too large or also small to fit on the screen. To frame it upwardly, cull View – Frame Selected, or press the . (full terminate key) on your Num Pad. Yous should now meet your object in full size.
Note that the object is selected it orange. I don't know what it is about Blender, but patently that blazon of choice isn't the i nosotros need. Instead, click off the object, then click on it again to make it turn more like a yellow.
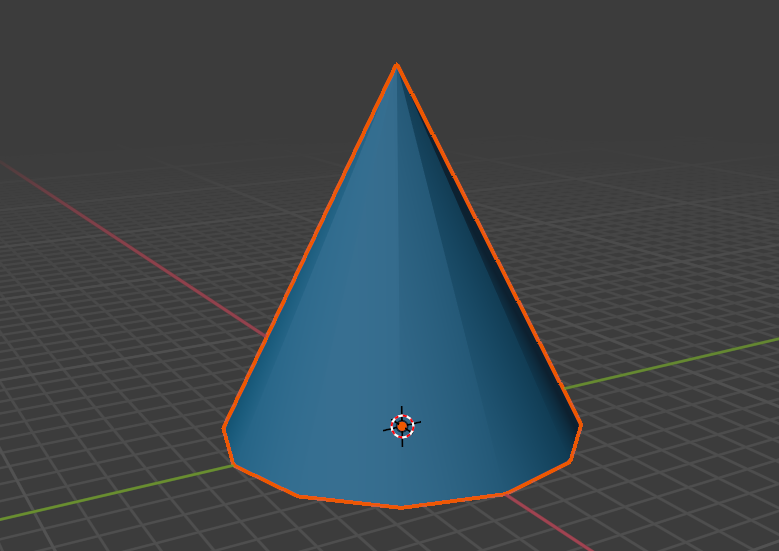
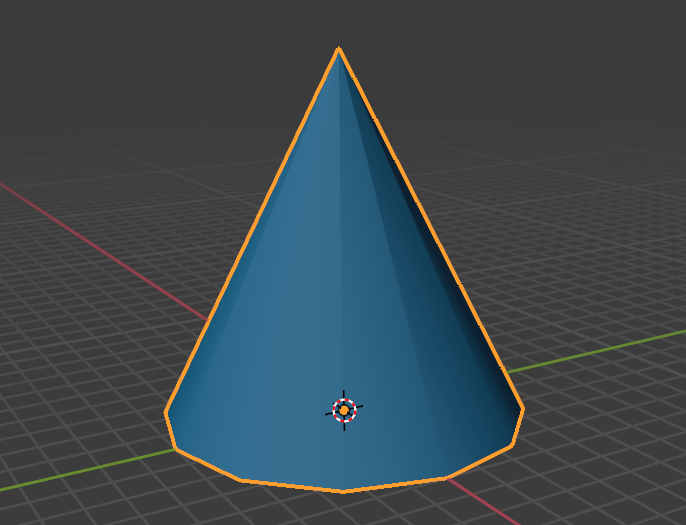
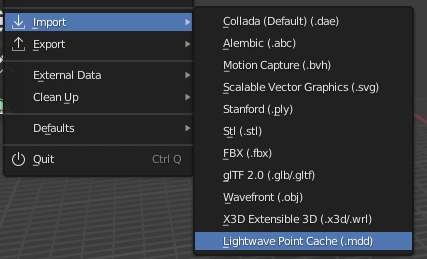
With your object in xanthous, let's bring in our animation. Navigate to File – Import – Lightwave Point Cache MDD.
This volition import the animation and requite us 1 keyframe at every frame in the timeline.
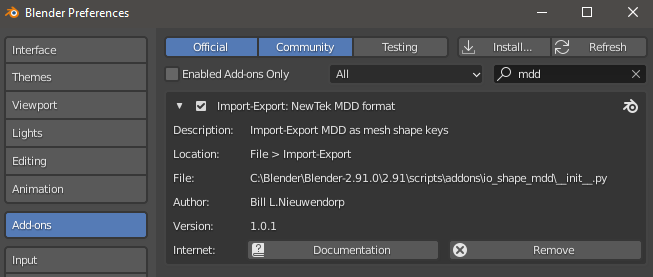
If the option to import the Lightwave Betoken Cache is greyed out, it means your object is not selected correctly. If the option does not testify upwardly at all, you lot need to activate the MDD plugin. It ships with Blender, but is disabled past default. Have a look nether Edit – Preferences – Add-ons and search for MDD. This will bring upwards the NewTek MDD Plugin. Enable information technology and the option should up.
Exporting the OBJ Sequence
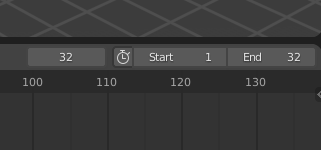
By default Blender uses a range of 250 frames for an animation in the default scene. This is probable non the correct elapsing for your projection. We demand to alter this so that the correct number of frames are exported in the side by side stride.
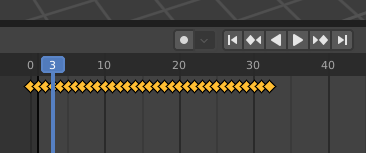
Take a look at the timeline and park your playhead somewhere beyond the end of your animation (after the concluding keyframe), then select the "Jump to previous keyframe" option. This volition move your playhead to the final keyframe and prove you the value y'all need.

In my case that's 32 frames, so I'll alter my animation range accordingly at the bottom right.
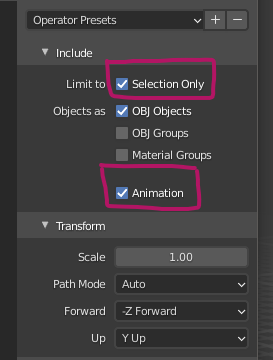
If you lot're happy that the animation is working and is the right length, you lot're ready to consign. Brand certain the object is still selected and navigate to File – Export – Wavefront OBJ. The important options in the next dialogue are to enable Selection Merely and Blitheness. Without the latter, we'd export a single OBJ. Selection only will include the current object but and nix else.
If the demand arises, y'all take the option to scale the object size in this dialogue. Alternatively the scale can be adjusted upon export from DAZ Studio, equally I said before. Exact values will depend on your target application.
And that's information technology! When the export has finished, you'll run across 1 OBJ with cloth file per frame of your blitheness.
DOWNLOAD HERE
Export Daz Studio To Animated Obj Daz3d Export To Element 3d Obj
Posted by: bryanthaparged.blogspot.com
0 Response to "Export Daz Studio To Animated Obj Daz3d Export To Element 3d Obj"
Post a Comment